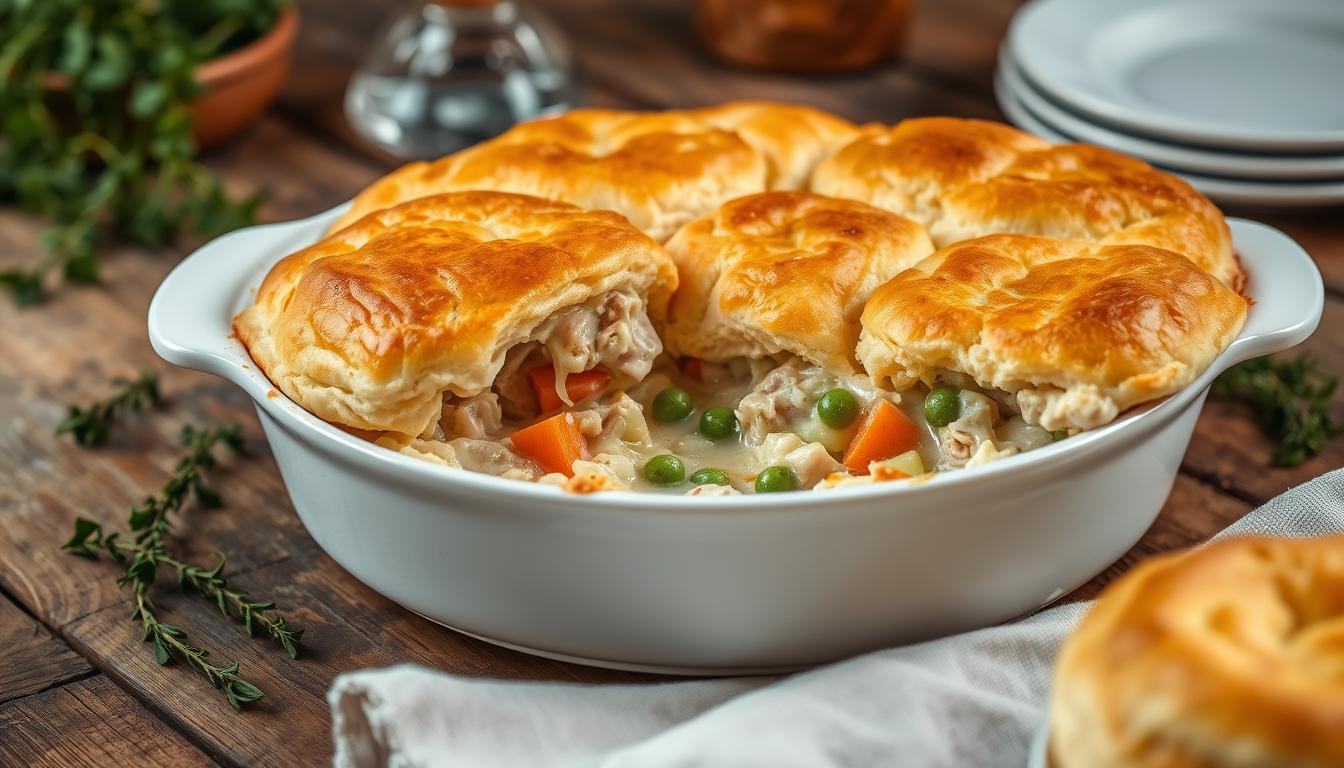
There’s something deeply comforting about a warm, hearty dish that brings everyone to the table. Imagine the aroma of a golden, flaky topping paired with a rich, savory filling. It’s the kind of meal that feels like a hug after a long day.
This recipe is designed for busy weeknights when you crave something satisfying but don’t have hours to spend in the kitchen. Using simple pantry staples and a few shortcuts, you can create a dish that’s both delicious and stress-free. It’s perfect for using up leftovers or a store-bought rotisserie chicken, making it a versatile option for any day of the week.
What sets this apart is the biscuit topping. Instead of a traditional crust, fluffy biscuits add a delightful texture and flavor. It’s a modern twist on a classic that’s sure to become a family favorite.
Table of Contents
Ingredients and Essential Pantry Staples
The foundation of any great dish lies in its ingredients. For a comforting meal, having the right components on hand is essential. Start with pantry staples like cream of mushroom and chicken soups, which add richness to the filling. Frozen mixed vegetables, such as peas and carrots, bring color and nutrition to the dish.
When it comes to protein, you have options. Fresh chicken works well, but using rotisserie chicken or leftovers saves time without sacrificing flavor. Seasonings like thyme, salt, and pepper enhance the taste, while milk adds creaminess to the mixture.
Key Ingredients Overview
Refrigerated biscuits are a game-changer. They eliminate the need to make dough from scratch, cutting down prep time significantly. Measuring ingredients like soups and milk ensures consistent flavor every time. Quality matters—opt for fresh vegetables and high-quality broth for the best results.
Fresh vs. Leftover Chicken Options
Using fresh chicken allows you to control the seasoning and texture. However, leftover chicken or rotisserie chicken is a convenient alternative. It’s already cooked, shredded, and ready to go, making it perfect for busy weeknights. Both options deliver a hearty, satisfying meal.
Step-by-Step Preparation Process
Mastering this dish starts with a simple, step-by-step approach. By following these instructions, you’ll create a meal that’s both hearty and satisfying. Let’s dive into the details.
Preheating and Initial Biscuit Baking
Begin by preheating your oven to 375°F. While it heats, place the biscuits on a parchment-lined baking sheet. Bake them for 8 minutes to partially set. This step ensures they’re ready to top the filling later.

Creating a Flavorful Pot Pie-Filling
Next, melt 2 tablespoons of butter in a skillet over medium heat. Add frozen peas and carrots, sautéing until they’re tender and defrosted. This step brings out their natural sweetness and adds texture to the dish.
In a separate bowl, whisk together cream of mushroom and chicken soups, milk, and a teaspoon of thyme. This creates a rich, well-seasoned base for the filling. Stir in shredded chicken and the sautéed vegetables, ensuring everything is evenly coated.
Transfer the mixture to a 9×13 baking dish. Arrange the partially baked biscuits on top, spacing them evenly. This layering technique ensures every bite is packed with flavor.
Techniques for Perfect Biscuit Topping and Crunch
The secret to a standout dish lies in its finishing touches. For a pot pie casserole, the biscuit topping is what makes it truly special. Achieving that golden, crunchy texture requires a few simple techniques.
Start by monitoring the biscuits during the final minutes of baking. If they’re not browning evenly, cover the dish with foil to prevent over-browning while the filling heats through. Remove the foil in the last 5 minutes for a crisp finish.
Achieving the Ideal Biscuit Browning
To ensure your biscuit topping is perfectly golden, adjust the oven rack to a higher position. This allows the heat to focus on the top layer, creating a desirable crunch. If needed, briefly broil the dish for 1-2 minutes, but keep a close eye to avoid burning.
Another tip is to use cold butter in the biscuit dough. This helps create flaky layers that bake into a light, airy texture. For extra crispness, brush the tops with melted butter before baking.
| Issue | Solution |
|---|---|
| Biscuits not browning | Move to a higher oven rack or broil briefly |
| Top too soft | Remove foil during the last 5 minutes of baking |
| Filling too dry | Cover with foil for the first 15 minutes |
Balancing a tender filling with a crunchy top is key. By following these techniques, you’ll create a dish that’s both comforting and satisfying. Every bite will be a perfect blend of textures and flavors.
Authentic chicken pot pie casserole with biscuits recipes
Authentic flavors meet modern convenience in this beloved recipe. It’s a modern twist on a classic comfort dish, blending traditional tastes with effortless preparation. Whether you’re a seasoned cook or a beginner, this dish is designed to bring warmth and satisfaction to your table.
What makes this recipe stand out is its ability to retain the rich, savory flavors of a traditional pot pie while introducing the ease of a biscuit topping. The combination of creamy filling and fluffy biscuits creates a texture that’s both comforting and delightful. It’s a dish that feels familiar yet fresh.

Authenticity comes from using simple, wholesome ingredients and techniques passed down through family kitchens. The filling, made with vegetables and a creamy base, is rich and flavorful. The biscuit topping adds a golden, crunchy finish that’s irresistible. This recipe is perfect for using up leftovers, making it a practical choice for busy weeknights.
Here’s why this recipe is a favorite:
- It’s quick to prepare, taking less than an hour from start to finish.
- The use of rotisserie chicken or leftovers saves time without compromising taste.
- Reader testimonials praise its ease and delicious results.
- It’s a versatile dish that can be customized to suit your preferences.
Trust this time-tested method to create a dish that’s both comforting and satisfying. Whether it’s a family dinner or a cozy meal for one, this recipe delivers every time. Bring the warmth of tradition to your kitchen with this authentic pot pie casserole.
Customizing Your Pot Pie for Extra Flavor
Adding a personal touch to your meals can transform them into something truly special. This dish is incredibly versatile, allowing you to swap ingredients and adjust flavors to suit your preferences. Whether you’re looking to add a kick of spice or make it creamier, there are endless ways to make it your own.
Substitutions and Ingredient Swaps
One of the easiest ways to customize this dish is by swapping out ingredients. If you’re not a fan of peas and carrots, try using corn or green beans for a different texture. For a richer taste, substitute heavy cream or half-and-half for milk in the filling.
Here are some other swaps to consider:
- Protein: Replace chicken with turkey or even shredded beef for a unique twist.
- Topping: Use mashed potatoes or puff pastry instead of biscuits for a different finish.
- Vegetables: Mix and match seasonal veggies like broccoli, zucchini, or bell peppers.
Enhancing Richness with Cream and Spices
To elevate the flavor profile, consider adding extra spices or cream. A teaspoon of garlic powder or smoked paprika can add depth, while a pinch of cayenne pepper brings a subtle heat. For a creamier texture, mix in a cup of heavy cream or a blend of half-and-half.
Here’s how to boost richness:
- Spices: Add garlic, paprika, or a blend of peppers for a robust flavor.
- Cream: Use heavy cream or a mix of half-and-half for a velvety filling.
- Herbs: Fresh thyme or rosemary can add a fragrant, earthy note.
Experimenting with these swaps and enhancements allows you to create a dish that’s uniquely yours. Don’t be afraid to try new combinations—every change brings a fresh, exciting flavor to the table.
Leftover Tips and Reheating Strategies
Enjoying your meal later is just as important as preparing it fresh. With the right storage and reheating techniques, your leftovers can taste just as delicious as the first serving. Here’s how to keep the flavors and textures intact.
Proper Storage Methods
To maintain the quality of your meal, store the filling and biscuits separately. Place the filling in an airtight container and refrigerate it for up to 3-5 days. Keep the biscuits in a separate container to prevent them from becoming soggy. This method ensures both components retain their texture and flavor.
Reheating Techniques for Retaining Texture
When reheating, preheat your oven to 350°F. Transfer the filling to an oven-safe dish and cover it with foil. Bake for 15-20 minutes, or until heated through. During the last 7-10 minutes, add the biscuits to the oven to regain their crispness. This step ensures the topping stays golden and crunchy.
Here’s a quick guide to reheating:
- Separate the filling and biscuits before storing.
- Reheat the filling in an oven-safe dish at 350°F.
- Add the biscuits during the final minutes for a crisp finish.
By following these tips, you can enjoy your leftovers as if they were freshly baked. Proper storage and reheating make all the difference in preserving the meal’s quality and flavor.
Conclusion
Bringing warmth and flavor to your table has never been easier. This modern twist on a classic dish combines simplicity with delicious results. With straightforward steps and smart ingredient swaps, you can create a meal that’s both comforting and adaptable.
Key techniques, like achieving the perfect biscuit topping, ensure a golden, crunchy finish every time. Customizing the filling with your favorite vegetables or spices adds a personal touch. Plus, reheating leftovers in the oven keeps the texture and flavor intact.
Whether it’s a quick weeknight dinner or a cozy weekend meal, this dish delivers satisfaction with minimal effort. Try it at home and enjoy the warmth of a homemade classic, made even better with these tips.

